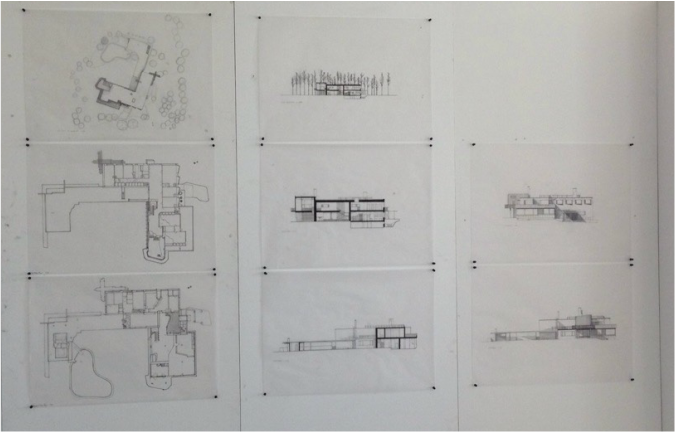
TWO WEEK REVIEW ORTHOGRAPHIC DRAWINGS OF ALVAR AALTO'S VILLA MAIREA
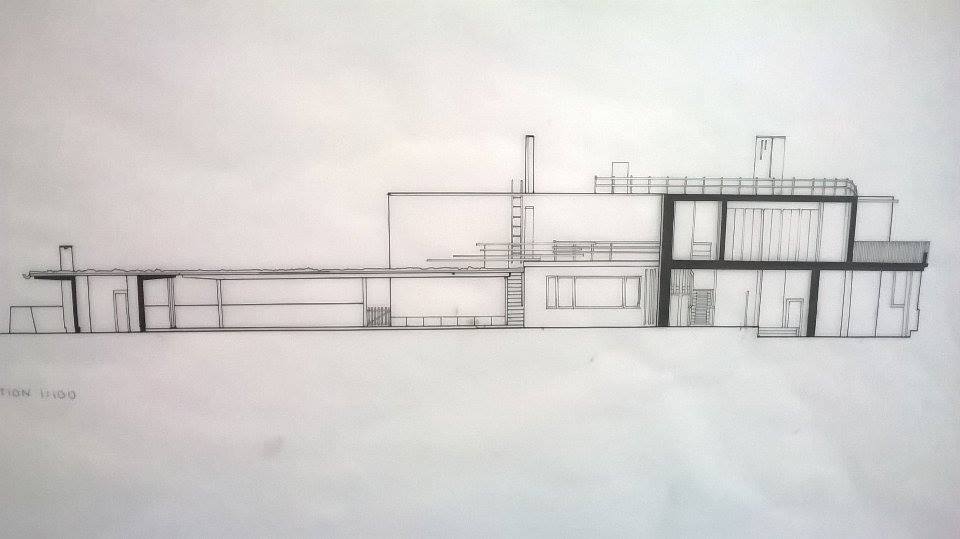

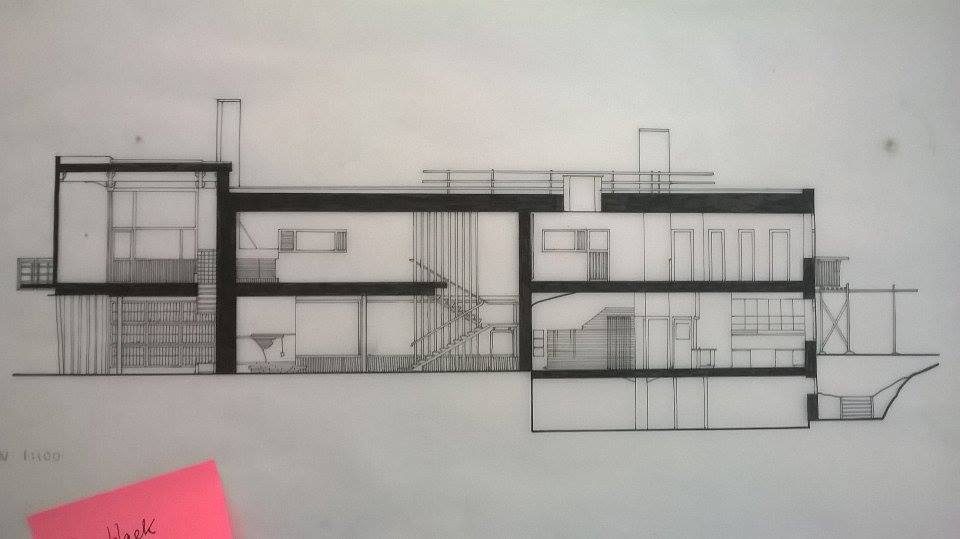
Top Left - Section 1:100
Top Centre - Upper Floor Plan 1:100
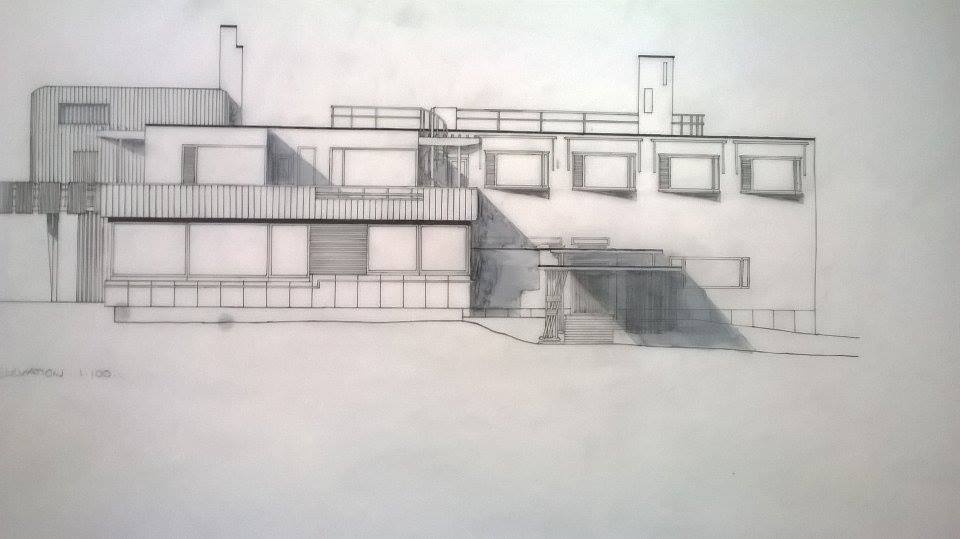
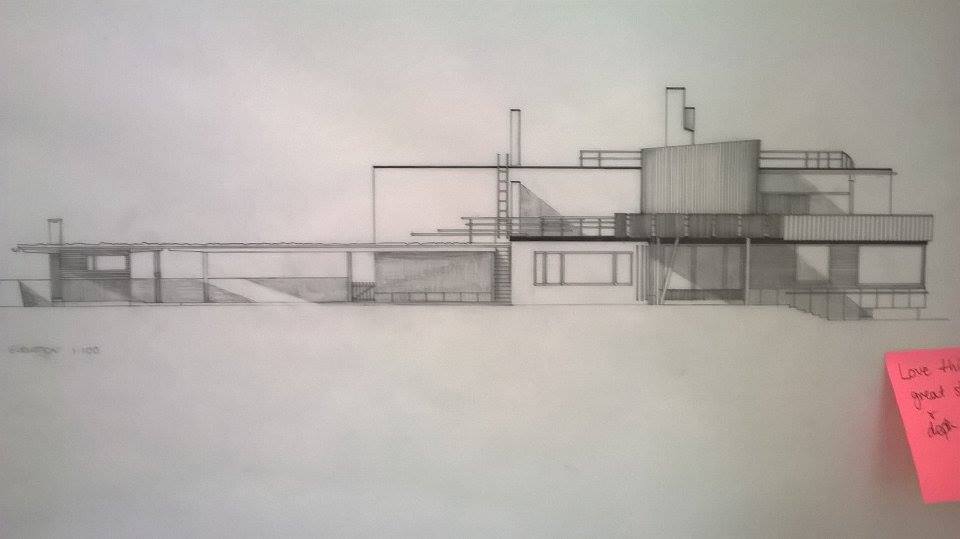
Top Right - Elevation 1:100
Mid Left - Section 1:100
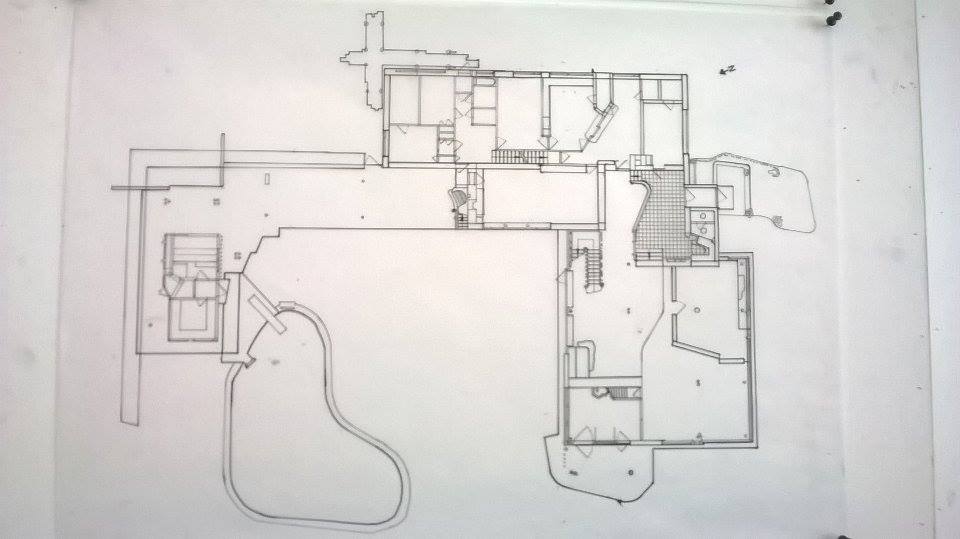
Mid Centre - Ground Floor Plan 1:100
Mid Right - Elevation 1:100
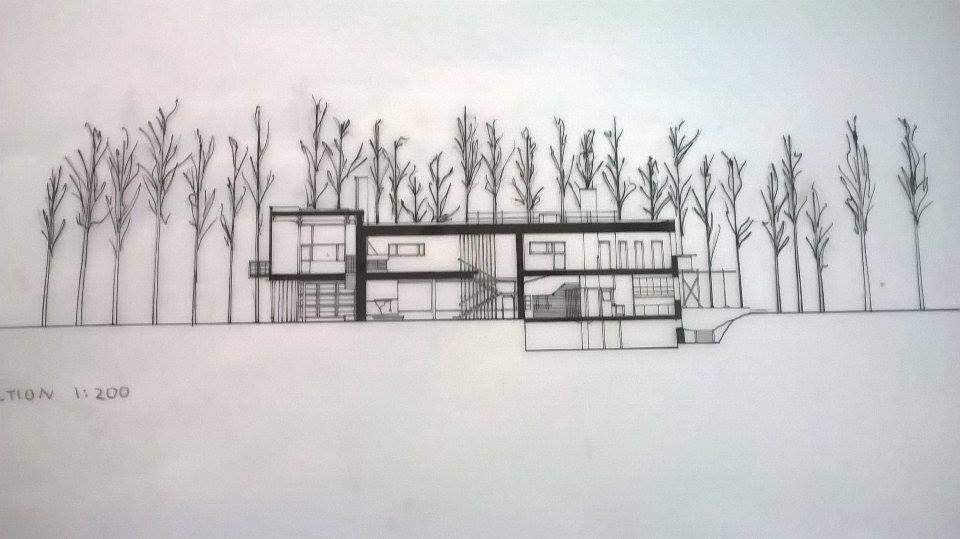
Lower Left - Site Section 1:200
Lower Centre - Site Plan in Context 1:200
Top Centre - Upper Floor Plan 1:100
Top Right - Elevation 1:100
Mid Left - Section 1:100
Mid Centre - Ground Floor Plan 1:100
Mid Right - Elevation 1:100
Lower Left - Site Section 1:200
Lower Centre - Site Plan in Context 1:200
Progress photos - Floor Plans
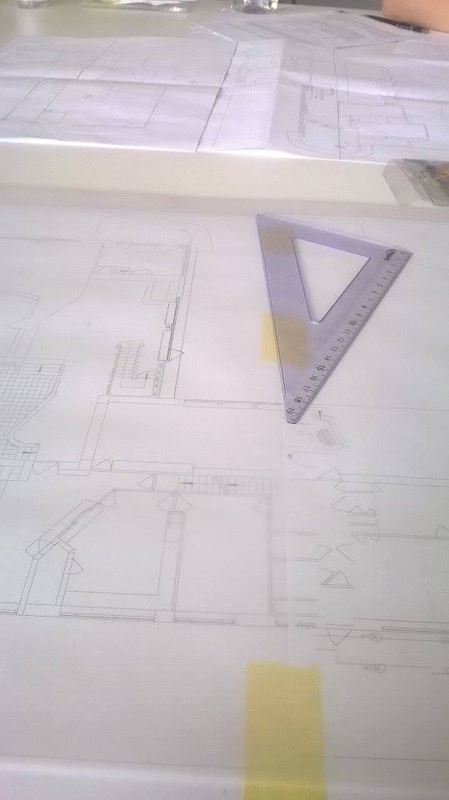
In these photos I am going through the process I used to create the drawings.
Image 1: The first one I am making a basic pencil copy of the plans we already had that we had made to scale, editing things in and out where felt necessary to make the plans clearer.
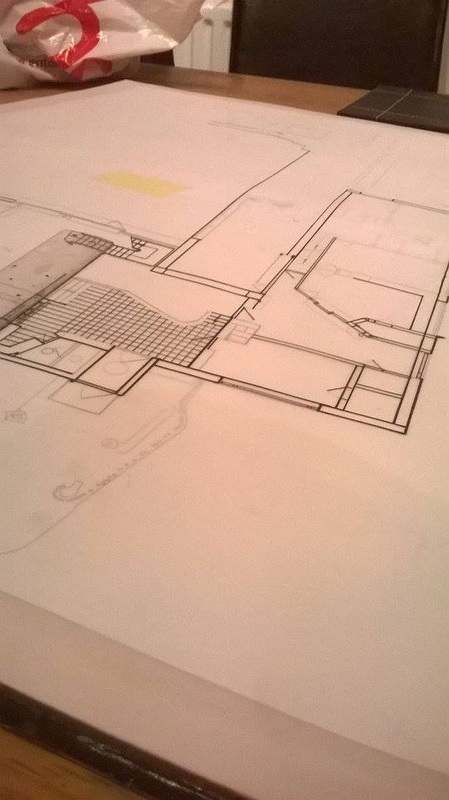
Image 2: In the next photo I am starting to put in the main walls including things like windows. By then tracing the pencil version in different pen thicknesses I started to create the feeling of solid and not so solid parts of the main structure. With main walls being the thickness of 0.7mm and windows being a 0.3mm.
Image 3: I started putting in more details such as division walls, doors and even tiles. The very fine details such as doors and tiles I drew in a 0.1mm and the supporting walls in a variety of thicknesses from 0.3mm-0.5mm. This Choice depended on how thick the walls were each and how important they actually where.
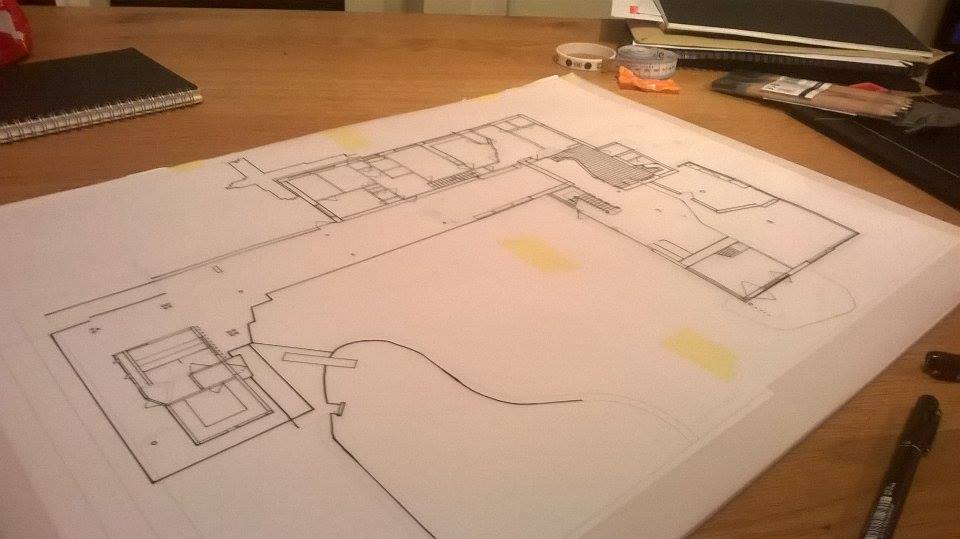
Image 4: More progress on the rest of the plans have been added including the sheltered area, barbecue, sauna and swimming pool.
From these plans I gained a better understand of what is what, I did with this with the aid of looking at a variety of images and comparing them, adding them up to make sense of each area.
Image 1: The first one I am making a basic pencil copy of the plans we already had that we had made to scale, editing things in and out where felt necessary to make the plans clearer.
Image 2: In the next photo I am starting to put in the main walls including things like windows. By then tracing the pencil version in different pen thicknesses I started to create the feeling of solid and not so solid parts of the main structure. With main walls being the thickness of 0.7mm and windows being a 0.3mm.
Image 3: I started putting in more details such as division walls, doors and even tiles. The very fine details such as doors and tiles I drew in a 0.1mm and the supporting walls in a variety of thicknesses from 0.3mm-0.5mm. This Choice depended on how thick the walls were each and how important they actually where.
Image 4: More progress on the rest of the plans have been added including the sheltered area, barbecue, sauna and swimming pool.
From these plans I gained a better understand of what is what, I did with this with the aid of looking at a variety of images and comparing them, adding them up to make sense of each area.
